


Swapping a pre-owned Mercedes-Benz 7G-Tronic transmission control unit requires bypassing the vehicle’s factory anti-theft system. Because these modules are uniquely personalized and locked to the original vehicle’s VIN, direct installation of a used donor unit is impossible without a complete reset.
Instead of relying on expensive OEM dealer tools, automotive technicians can utilize LAUNCH X431 PRO5 to completely erase and renew a used VGS3 NAG2 TCU on bench. This process virginizes the module, allowing it to be personalized and programmed to another vehicle.
Below is the comprehensive technical walkthrough for the VGS3 NAG2 renewal procedure.
Preparation
- Diagnostic Interface: LAUNCH X431 PRO5 with Smartlink C
- Target Unit: Pre-owned Mercedes-Benz VGS3 NAG2 TCU (7G-Tronic)
- Bench Power Source: A stable, reliable power supply to maintain steady voltage throughout the operation.
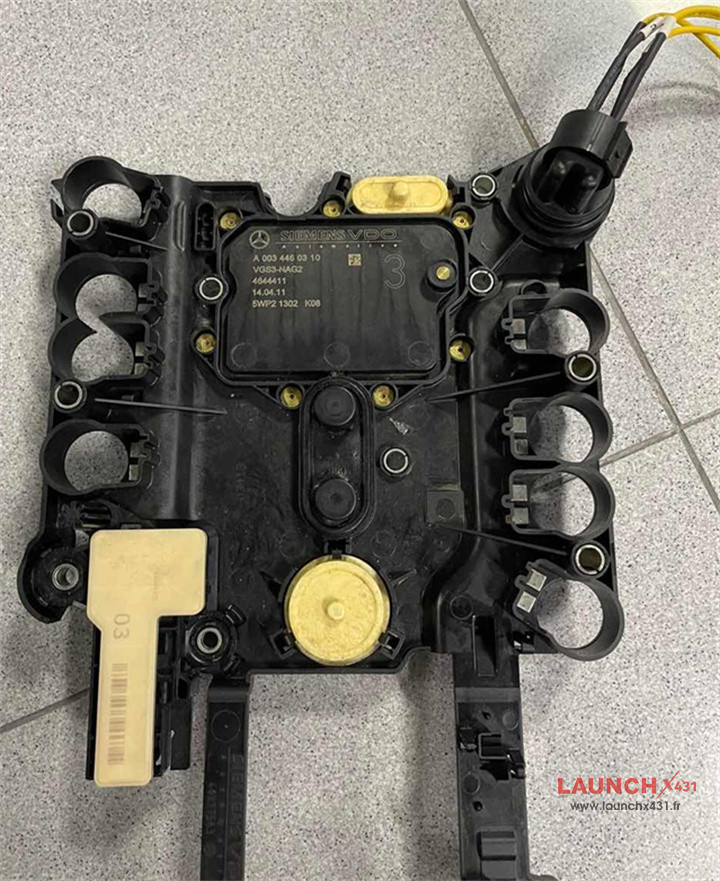
Operational Procedures
1.Access the Mercedes-Benz Security Menu
Launch the diagnostic application on X431 PRO5 tablet.
Go to the Mercedes-Benz Anti-Theft Software module.
Ensure Launch Smartlink C VCI is active, and click OK to confirm.
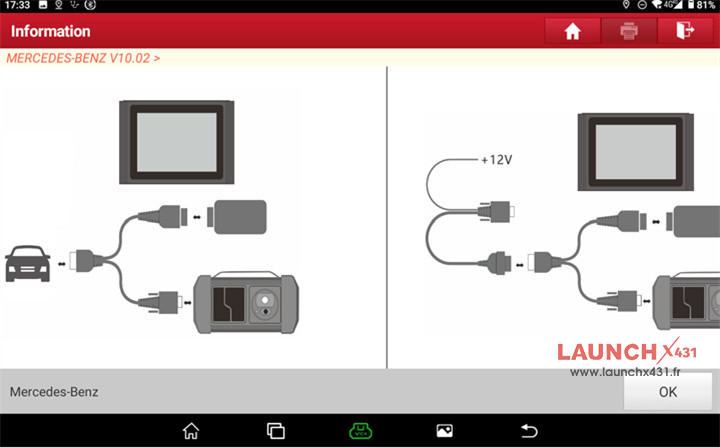
2.Select ECU Erasing
From the immobilization main menu, select ECU Erasing to open the control unit renewal functions.
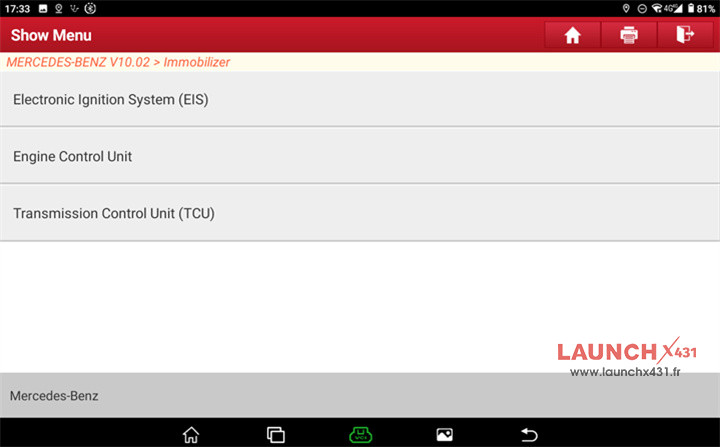
3.Select the Target Module
Choose Transmission Control Unit (TCU) from the list of supported modules.
4.Retrieve the Pinout Schematic
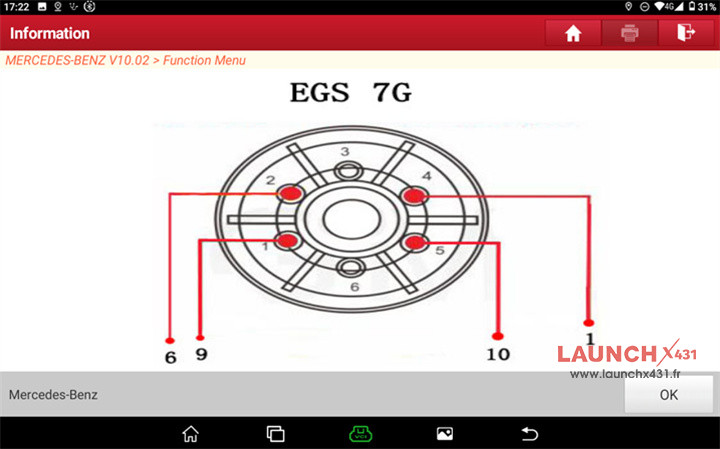
Click the Wiring Diagram button. X431 PRO5 will display the integrated, high-definition pinout diagram for the VGS3 NAG2 module configuration.
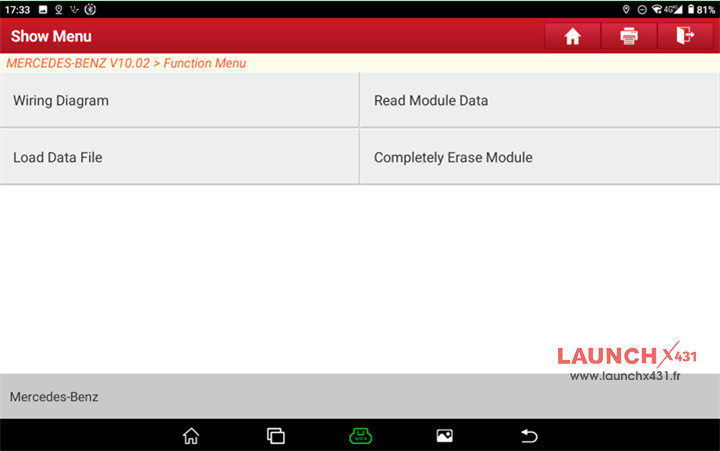
5.Establish Bench Connections
Connect the power, ground, and CAN lines on your bench harness to the VGS3 module according to the displayed schematic. Verify all connections are secure, then click OK.
6.Initiate Module Reset
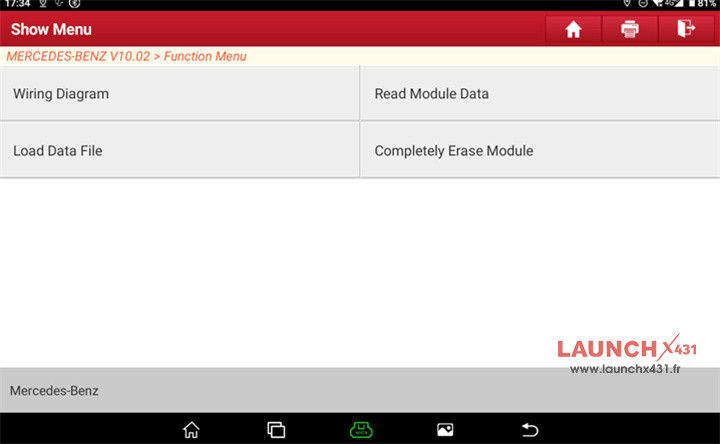
With the bench setup powered on and stable, select the Completely Erase Module function.
7.Acknowledge Warnings
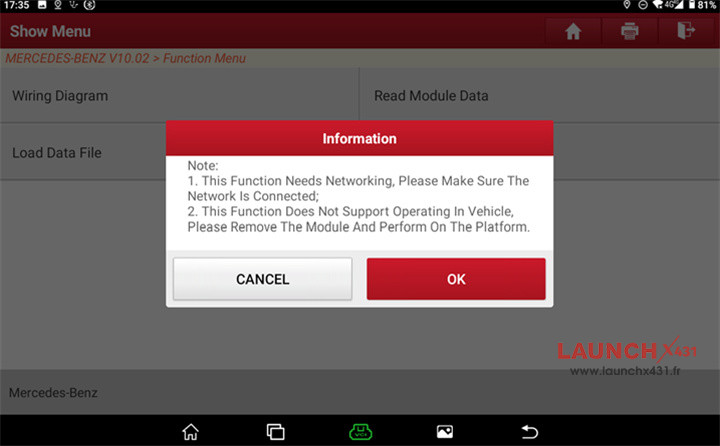
Review the on-screen safety warnings regarding module operations and click OK to proceed.
8.Analyze Current Immobilizer Status
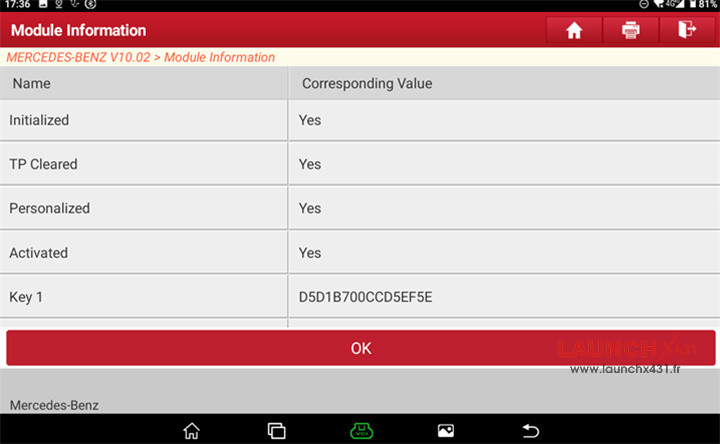
X-431 PRO5 will read the live status of the transmission controller. The initial status will display the module as “Personalized” and “Activated”. Click OK to send the erase command.
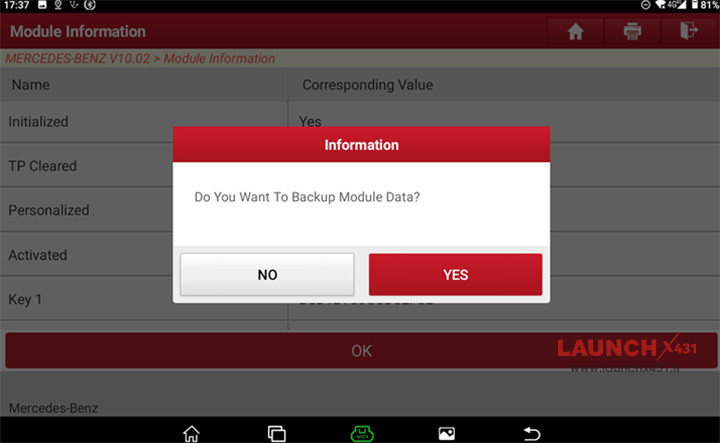
9.Select Data Backup Preference
The system will prompt you to back up the existing module coding. Select No if you are fully wiping a donor module for a fresh install, or select Yes if you require the data for cloning purposes.
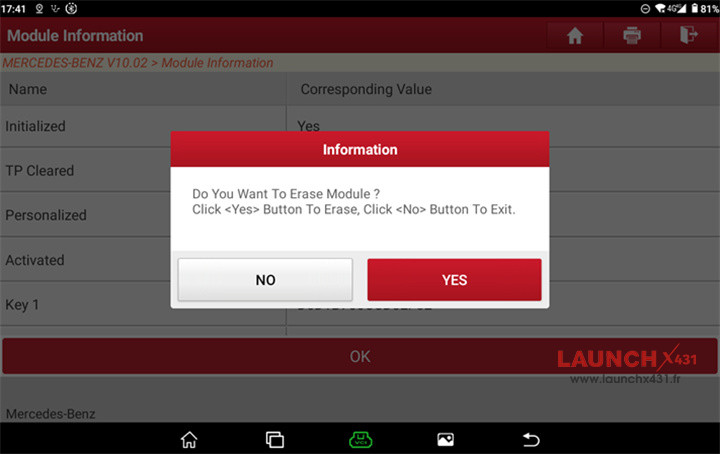
10.Authorize the Command
Confirm the final verification prompt by clicking YES to begin sending the security bypass commands.
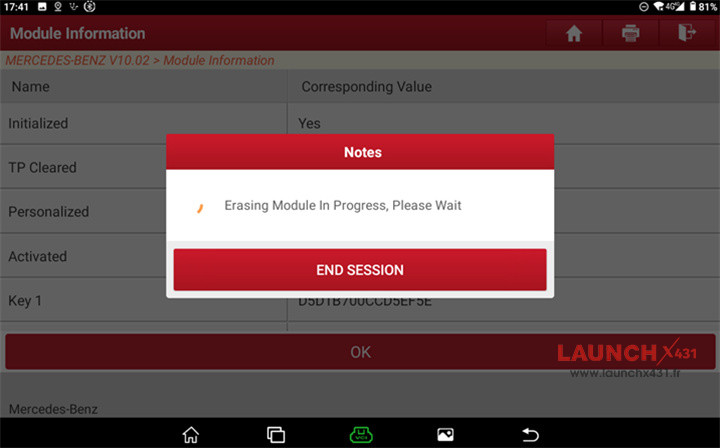
11.Online Calculation & Erasure
X431 PRO5 will communicate online to calculate the server hashes and reset the VGS3 EEPROM. Warning:
Ensure power and data cables remain undisturbed during this phase.
12.Verify Successful Virginization
Upon completion, the screen will display: “The module is successfully erased.”
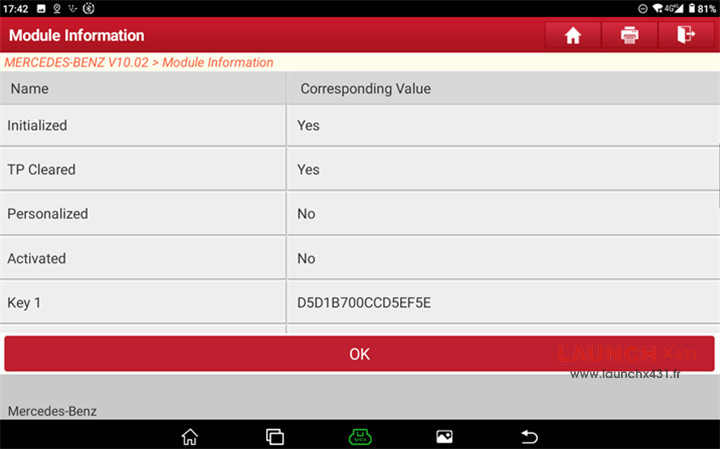
The live data stream will refresh, confirming that Personalized, Activated, and Locked statuses are all set to No.
Click OK to finish. The VGS3 NAG2 TCU is now fully renewed by Launch X431 PRO5 diagnostic tool and ready for vehicle adaptation.